
How To Cure Salmon
Learn how to cure salmon at home the easy way—even if you’ve never done it before. No fancy tools, just fresh fish, basic ingredients, and step-by-step guidance.
Mady
8/2/20255 min read
How to cure Salmon
Without getting worms in your brain!!
Ingredients/ Supplies
(measurements are based on weight- be sure to read the directions)
Salmon of choice (center-cut, skin-on recommended)
Kosher salt or fine sea salt (non-iodized only)
Granulated sugar
Seasonings of choice (optional but recommended—see Note 1)
Plastic wrap
Dish and/or baking sheet (to hold the wrapped salmon in the fridge)
Freezer bags (for portioning and storing)
Digital kitchen scale with gram measurements
Directions
Choose your Salmon
Not all salmons are created equal, so choose wisely! Obviously, go for quality and as fresh as possible. During my research, I found some conflicting opinions on what kind of salmon to choose. One trusted source said to use fatty salmon, and another trusted source said to use a lean salmon. I went with fatty and was very happy with the result, but if you try a lean cut, let me know! Either way, choose a center piece with the skin on. I always get a whole salmon when I buy, so I cut it myself (I like doing this because I feel like you get a fresher fish and more bang for your buck). Pick out any bones if there are any.
KILL THOSE DARN PARASITES (if there are any)
Before curing salmon to serve raw or lightly preserved, we have to freeze it properly to kill any potential parasites. The FDA recommends one of the following methods:
freeze at −4°F (−20°C) or below for 7 days,
freeze at −31°F (−35°C) or below until solid and hold for 15 hours,
or freeze at −31°F until solid then store at −4°F for 24 hours.
This ensures the salmon is safe to eat. For full FDA guidance, refer to: Fish and Fishery Products Hazards and Controls Guidance (FDA, June 2022).
Make Your Cure
The amount of cure you need depends on how much salmon you're curing. Weigh your salmon in grams, then multiply that number by 0.15 for a lighter cure. If your salmon is on the thicker side or you prefer a firmer texture, multiply by 0.16 or 0.17. That number is how many grams you’ll use for both salt and sugar. For example, if your salmon weighs 600g and you're using a 0.17 ratio, you'll need 102g of salt and 102g of sugar.
Important note on salt: Do not use iodized/table salt—it can leave a metallic taste and ruin the texture. Stick to kosher salt or fine sea salt.
This is also where you can get creative with spices. I went traditional with black pepper, fresh dill, and bay leaf, but you can adjust it in so many different directions (see Note 1 for tips). You can pulse your spices in a spice grinder and mix them right into the cure, or chop them up by hand like I did in my video (below).
Wrap Your Salmon
It’s easiest to do the next step on a baking sheet. Lay out plastic wrap to cover it completely, I think I used three sheets: one horizontal and two vertical. Lay a bed of your cure down first, then place your salmon skin-side down onto the cure. Cover the salmon completely with the remaining cure, then wrap it tightly in the plastic wrap and seal it with tape to keep it all together. Transfer it to a dish that will fit in your fridge.
Note: Your salmon might leak, and while this is completely normal (and actually a good sign, as long as it doesn’t smell bad), you don’t want that liquid all over your fridge.
Home Stretch and Storage
Now it's a waiting game, leave your salmon in the fridge for 24 to 72 hours. The longer you leave it, the stiffer and more cured the salmon will become. I had a very thick cut of salmon, so I left it for 72 hours and ended up with a mix of soft, gummy parts and tougher, almost crystally parts, both very good!
You'll know your salmon is ready when it feels slightly firm to the touch but not rock hard. That means the cure has worked.
Still, watch out for these signs that something went wrong:
A strong, sour, or rotten smell (your salmon should smell fresh, like the ocean or nothing at all)
Slimy or sticky texture on the surface after curing (a little moisture is normal, but slime is not)
Unusual discoloration like green, blue, or fuzzy patches (this indicates mold or spoilage)
If you see or smell any of these signs, it’s safer to discard and try again.
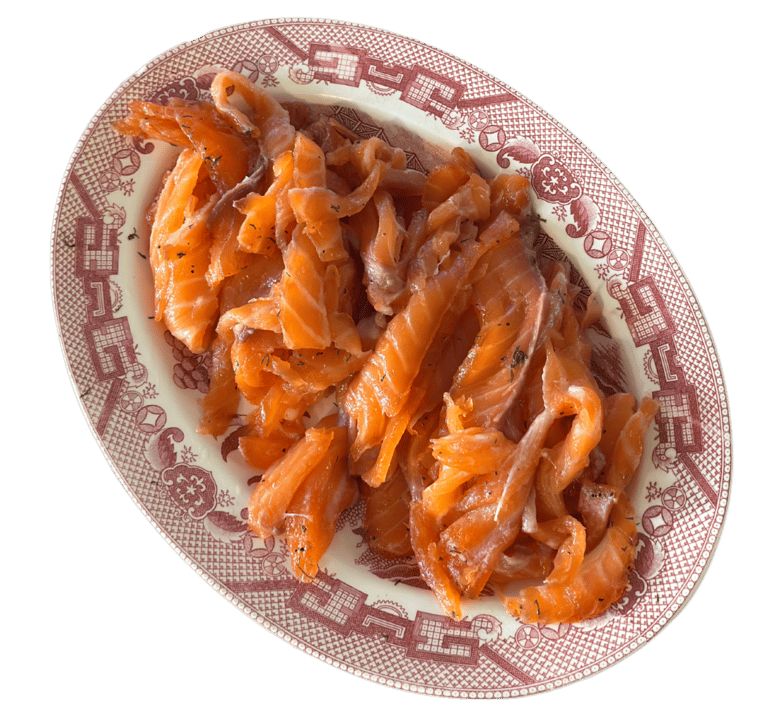
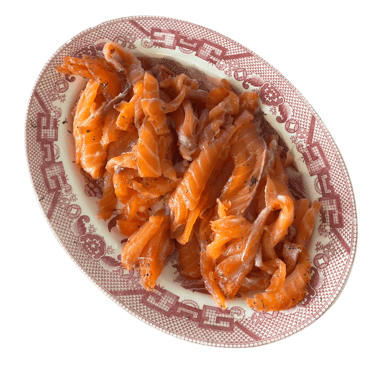
Once your salmon is cured, unwrap it, rinse off the cure and pat it dry. Then you're ready to slice your salmon. Typically, it’s sliced very thin. I made a large batch, so I portioned out a few servings into freezer bags and stored them in the freezer. Cured salmon will keep in the fridge for up to 5 days, or in the freezer for 1 to 4 months.
Notes
When curing salmon, you typically stick with seasonings that enhance the fish without overpowering it. like cracked black pepper, citrus zest, dill, or coriander seeds. You can also use brown sugar instead of white for a richer, deeper flavor.
Sometimes soft herbs can interfere with the curing process—like fresh garlic, onion, or parsley. These can introduce too much moisture or go slimy during the cure. However I had a fine time using fresh dill. Do not use table salt —it can leave a harsh taste. Stick with kosher or sea salt for the best results. ultimately the world is pretty much your oyster! Experiment but know that for best results maybe stick to the basics at first.
Don’t Be Scared! But Safety First!
Curing salmon at home might sound intimidating—and I get it. It's raw fish, so you're right to be cautious! But with just a few precautions, you can make it safely in your own kitchen.
Let’s address the elephant in the room—or the worm... The main safety concern when curing salmon is parasites, especially if you're using wild-caught fish. Luckily, this is easy to handle: just freeze your salmon ahead of time according to FDA guidelines (I walk you through that below and linked the official FDA recommendations).
From there, it’s all about keeping things clean, using the right amount of salt and sugar, and trusting your gut. You don’t need fancy tools or special ingredients to do this. For generations, people cured fish without the modern cleaning standards or equipment we have today—so just be careful, follow the directions, and you’ll be fine.
If you follow the steps, you can absolutely cure salmon at home—and it’s one of the most satisfying projects you’ll ever try. It feels a little magical, a little gourmet, and way easier than you think. (But I'm not responsible if something goes wrong <3 )
You’ve got this! :D
I think smoked salmon deserves way more hype. It’s delicious, packed with healthy fats and protein, and pairs beautifully with sandwiches, open-faced toast, eggs… maybe even a little breakfast charcuterie action at your next brunch get-together? Wooooow... So many great ideas.
Looks like you should make some smoked salmon.