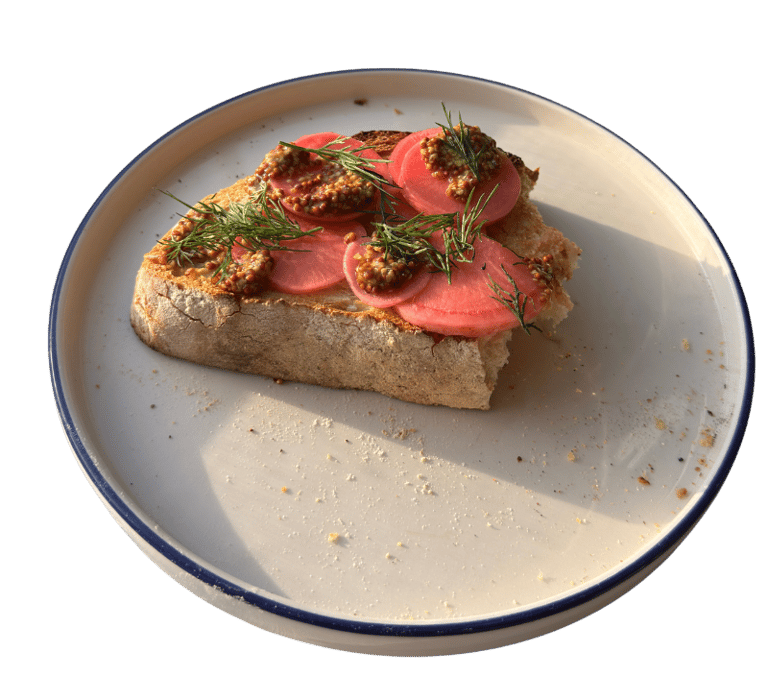
The Best Simple Bread
Learn how to make this easy no-knead artisan bread with just four ingredients. This loaf delivers a perfectly chewy crust and soft interior, ideal for beginners and seasoned bakers alike.
BAKINGBREAD
6/9/20253 min read
Easy Bread
For those who want to make good bread but aren't ready for the commitment of sourdough


Everyone is obsessed with sourdough! But maybe you don't want to deal with all that fermentation and you just want some FREAKING bread. I don't blame you, while you should try sourdough at some point this is a great jumping off point for beginner bakers, or those who just want some bread in less than three business days.
The best Basic bread Recipe
Ingredients
562g (3¾ cups) bread flour or all-purpose flour
470ml (1⅞ cups) very warm water (up to 55°C / 130°F)
2½ teaspoons instant or rapid-rise yeast
2½ teaspoons kosher salt (not table salt)
Directions
Mix the Dough
In a large bowl, mix together the flour, yeast, and salt (I like to mix with my hands or a wooden spoon). Pour in the warm water and mix using a wooden spoon, silicone spatula or you hand until a rough, sticky dough forms. The dough will appear shaggy and wet (see note 1).First Rise (Bulk Fermentation)
Cover the bowl tightly with plastic wrap, a plate, or a clean towel. Let the dough rest at room temperature for 1½ to 2 hours, or until it has doubled in size and looks bubbly on the surface (see note 2).Shape the Dough
Lightly flour your work surface and hands. Gently turn the dough out onto the surface and fold it into a round or oval loaf shape. Do not knead—just tuck the edges under to create tension on the top (see note 3).Second Rise and Prepping Your Oven
Place the shaped dough onto a sheet of parchment paper and loosely cover it with a clean towel. Let it rest for 30 to 60 minutes, until it has puffed up and springs back slowly when gently pressed (see note 4). While the dough is proofing, place a Dutch oven (or heavy lidded pot) into your oven and preheat to 230°C (450°F). Allow at least 30 minutes for the pot to fully heat.Bake the Bread
Once the dough is ready, carefully remove the hot pot from the oven. Use the parchment paper to transfer the dough into the pot. Cover with the lid and bake for 30 minutes. Remove the lid and continue baking for 15–20 minutes, or until the crust is deep golden brown and the loaf sounds hollow when tapped on the bottom. The internal temperature should reach 90–95°C (195–205°F) when fully baked (see note 5) Transfer the loaf to a wire rack and let it cool for at least 1 hour before slicing. Cutting too early may result in a gummy texture (see note 6).
Notes
High-hydration dough – This dough is approximately 83% hydration, so it will feel sticky and loose. That’s intentional. it creates a tender, open crumb. Don’t add extra flour unless its soupy.
Judging the first rise – The dough should roughly double in volume and have visible bubbles. Temperature and yeast freshness can affect timing, so go by appearance. Typically, if your house is warmer it will rise faster, and a colder environment will cause the dough to rise slower. I like to put my dough in the microwave. Its a small area so the warmth from the fermentation fills up the space and it rises faster, or if its winter it wont take as long to rise.
Flour your hands and surface – Use minimal flour when shaping. A bench scraper is helpful, but I never use one. :)
Second rise poke test – Lightly press the dough with a floured finger. If it springs back slowly and leaves a small dent, it’s ready to bake.
Use parchment paper – It makes transferring dough into a hot pot safe and easy, especially with high-hydration dough.
Extended bake time is normal – This recipe makes a slightly larger loaf than typical no-knead bread recipes, so it may need up to 10 extra minutes during the uncovered baking phase to fully develop a deep, golden crust and finish baking through.
Cool thoroughly – While its hard to wait to eat your bread...the crumb continues to set and dry internally after baking. Letting it cool prevents a dense, gummy interior. You don't HAVE to do this step but I recommend. :)
Join The Grub Club!
Get exclusive recipes, meal plans, and more!
